Is Sewing Machine Timing Off? Quick Diagnostic for Sewists
Learn how to tell if your sewing machine timing is off and fix timing issues fast. This 1500-word guide covers symptoms, steps, and prevention for home sewists.

Is your sewing machine timing off? The quickest answer is that misalignment between the timing belt and cam or timing marks is the most common culprit. Start by disconnecting power, remove the needle plate, and inspect the timing marks. If they’re off by more than a few teeth, timing needs adjustment or professional service.
How timing issues affect stitches and what to notice
Timing is the hidden conductor of your sewing machine. When timing is off, the needle and hook may miss, collide, or misform stitches, producing tangled thread, skipped stitches, or uneven feed. If you're trying to figure out how to tell if sewing machine timing is off, look for consistent skipped stitches in one area, repeated bird-nesting under the fabric, or sudden loud clacking during sewing. According to Sewing Machine Help, timing problems are a common source of needle breakages and fabric snags for home sewists. Before you assume a broken motor, check the timing belt, cam, and belt-driven pulleys. A small misalignment can produce big problems, and many timing issues originate from routine maintenance, belt slippage, or after you remove the needle plate. By focusing on the path of the thread through the bobbin hook and the needle, you’ll identify where the timing is failing and avoid unnecessary part swaps.
How timing misalignment affects stitch quality
When the hook timing falls out of sync with the needle, stitch formation becomes inconsistent. You may notice skipped stitches, uneven top stitches, or thread nests on the underside. The fabric may move as you sew rather than feeding smoothly, and you might hear a faint grinding sound as the hook overtakes the needle. In many cases, the fix is simpler than it seems—simple belt realignment or rechecking the timing marks can restore normal stitching. Remember: accurate timing is essential for reliable stitches across different fabrics and stitch types.
Quick checks you can perform safely
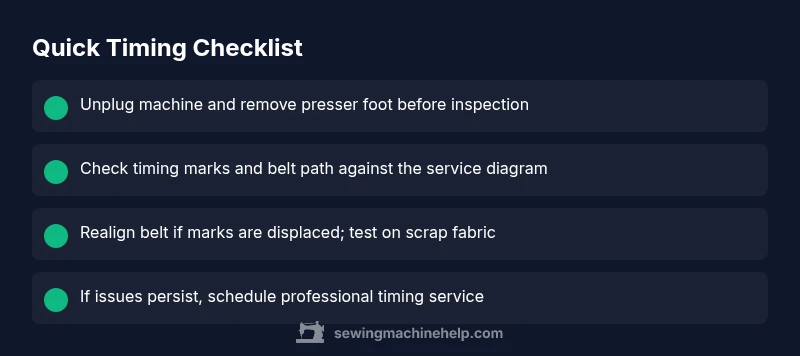
Always start with safety. Unplug the machine, remove the presser foot, and loosen the needle. Check straightforward items first: belt tension (if accessible), needle installation, bobbin winding, and the needle plate for burrs. Make sure the shuttle moves freely and that the hook can rotate without obstruction. If you can access the timing area, compare the timing marks to the service manual. Do not force parts or try to realign gears without documentation. If things look offset, don’t jump to conclusions—verify each element in order before proceeding.
Diagnostic flow: symptom to diagnosis (overview)
A systematic approach helps you avoid guessing. Begin with the most common, easily verifiable causes—belt slippage or marks misalignment. Move to the next layer if the quick checks don’t resolve the issue. Ask: Is the thread path correct? Are the bobbin and shuttle working smoothly? If timing marks are aligned but stitches still misbehave, the issue may be deeper, like worn gears or a misadjusted cam. The flow mirrors real-world reasoning: observe the symptom, form hypotheses, test with safe checks, apply fixes in order of likelihood, and escalate to professional service when timing appears beyond home adjustment. If this doesn’t fix the problem, recheck the belt, consult the manual, or a technician.
Step-by-step: most likely cause and fix (timing belt or cam alignment)
- Power down, unplug, and remove the needle plate to access the timing area. 2) Locate the timing marks on the front or top cover and note their positions relative to the belt and crank. 3) If marks are displaced, gently reseat the timing belt and recheck alignment with the factory diagram. 4) Reassemble the cover, reinstall the needle and bobbin, then run a slow test on scrap fabric. 5) If stitches improve but remain imperfect, adjust in small increments or replace the belt as needed. 6) Re-test under light, then normal sewing speed; if issues persist, seek professional service. Tip: take clear photos before disassembly so you can recreate the exact alignment.
Steps
Estimated time: 20-45 minutes
- 1
Power down and prepare workspace
Unplug the machine, remove the foot, and prepare a clean workspace. This prevents accidental starts and keeps parts accessible. Take photos before disassembly.
Tip: Label screws and keep track of plate orientation. - 2
Access the timing area
Open the front cover or top panel as per your model’s manual. Remove the needle plate carefully and set it aside. Confirm you can see the timing marks and belt path.
Tip: Work slowly to avoid bending delicate components. - 3
Check timing marks and belt position
Inspect the timing marks on the cam and hook housing. If marks are misaligned, reposition the belt to align with the diagram. Ensure the belt isn’t stretched or frayed.
Tip: Only adjust according to the official service diagram. - 4
Reassemble and test lightly
Reinstall the needle plate and covers, thread a scrap fabric, and run at a slow speed. Observe stitch formation and compare to expected timing.
Tip: Test on scrap fabric to avoid damaging a project piece. - 5
Evaluate results and adjust again if needed
If stitches still show misalignment, recheck marks and belt seating. Make small, incremental adjustments rather than large realignments.
Tip: Take another set of photos before final reassembly. - 6
Decide on next steps
If timing remains off after careful adjustment, it’s safer to seek professional service rather than forcing a fix. A trained technician can recalibrate the timing with the right tools.
Tip: Document symptoms and steps taken for the technician.
Diagnosis: Stitches misalign, loop, or skip due to timing
Possible Causes
- highTiming belt or cam belt slipped or stretched
- mediumTiming marks misaligned after maintenance or needle plate removal
- lowInternal gears worn or damaged
Fixes
- easyRe-seat timing belt and align marks per service manual
- mediumReplace belt or adjust cam timing if marks still off
- hardProfessional timing realignment or gear replacement
Your Questions Answered
What are the signs that timing is off on a sewing machine?
Common signs include frequent skipped stitches, bird-nesting under the fabric, needle strikes, and unusual noises during sewing. If these occur consistently, timing is a probable culprit and should be checked before replacing components.
Look for skipping stitches, bird nests, or odd noises. If you see these, timing may be off and should be checked.
Can I fix timing issues myself without professional help?
Some timing issues can be addressed with careful belt alignment and mark verification using the service manual. However, critical adjustments or damaged gears should be handled by a professional to avoid further harm.
You can handle simple belt alignment if you follow the manual, but major timing work is best left to a pro.
What tools do I need to check timing?
Common tools include the machine’s service diagram, screwdrivers, a clean workspace, and a flashlight. A digital camera or smartphone is handy for documenting alignment before disassembly.
Use the service diagram, basic screwdrivers, and a camera to document alignment.
My timing belt was replaced; now it’s off again. what should I do?
Revisit the belt routing and marks, ensuring the belt sits correctly on pulleys. If misalignment persists, the belt may be the wrong type or damaged, requiring professional adjustment.
Check belt routing again and verify mark alignment. If it remains off, consider professional help.
How long does a timing adjustment usually take?
A simple timing check and belt realignment can take 20-45 minutes, depending on model access. More complex adjustments may require longer or professional service.
Typically 20-45 minutes for basic checks; longer for deeper timing work.
Watch Video
The Essentials
- Check timing before replacing parts
- Follow the service manual for marks and belt path
- Unplug and safeguard before opening a cover
- Document alignment with photos for reassembly
- Consult a pro if timing seems beyond home adjustment